It’s very common that certain tasks are closely related to certain files. In such case, attaching the files to the tasks can make your job a lot easier. Pagico allows you to do so in just a few simple steps. Read on to learn more about this!
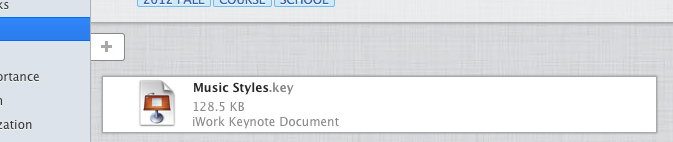
Step 1: Import the file(s) to your project.
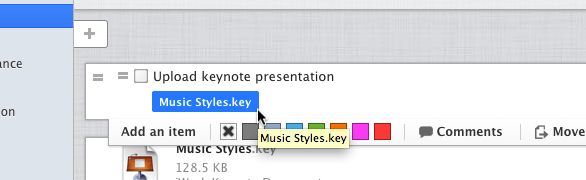
Step 2: Link to the file(s) from the task.
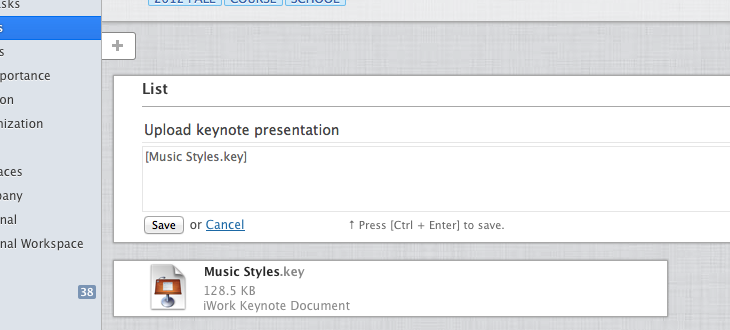
Here’s the key — you’ll want to use this syntax: [filename] to create a link to the target file. When writing the file name, be sure to include the exact full name of the file, including the extension name.
Then, click “Save” to save the list item. The [filename] will automatically be turned into a clickable link, pointing to the target file.
Step 3: Hide the target file (optional)
If you would like to reduce visual clutter in your project, you can choose to hide the file object. Once hidden, the file object will disappear from your project view, but the link you just created will still be functional.