A lot has changed in Pagico 10 was initially released back in September of 2021. Instead of releasing point updates such as 10.1, 10.2, and eventually holding significant features back for a major (paid) upgrade like v11, we switched to a perpetual update model where new features and improvements are implemented continuously over the months. This way every customer can benefit from new improvements as soon as they are available. So, today we’d like to do a quick round up on the top 5 recent improvements in Pagico 10 that could instantly boost your productivity.
#1: Frame Your Data with Smart Lists
Do you have a need to see (and perhaps group) certain data objects from across your database? For instance, see all tasks labeled @phone-call, @follow-up, or get a list of all files in the past 7 days? It’s easy to do this with the Smart List feature. Just check out the video tutorial below to see how you can use Smart Lists to frame your data the way you want.
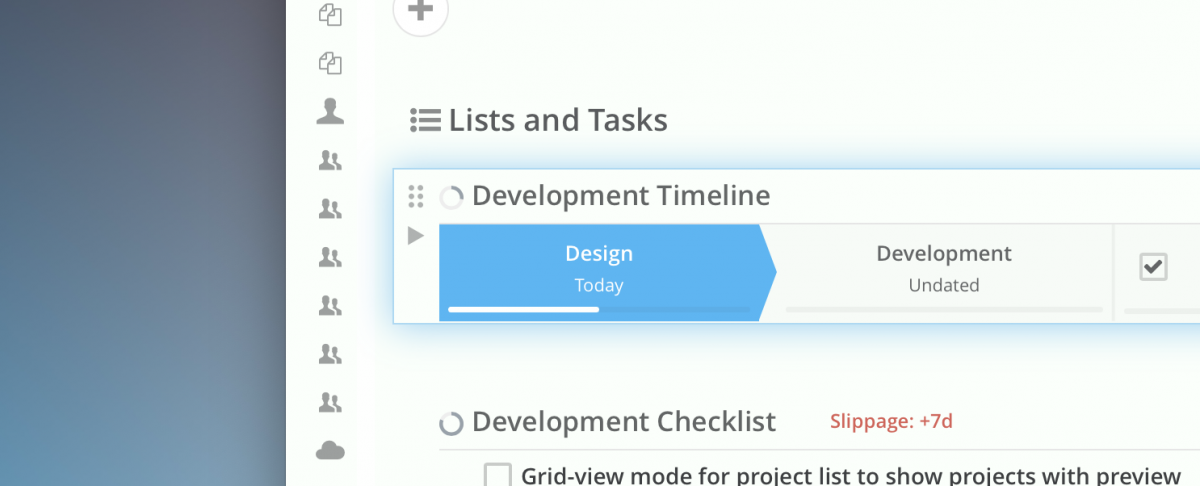
#2: Turn Lists into Pipelines
Some times it helps to visualize your tasks into a pipeline. To do this, simply click on the triangle to fold the list, and you’re all set!
#3. Use (and Personalize) the Daily Planner
While the Today view isn’t new to Pagico, it’s a fantastic way to focus on your current day, and it was also quite easy to perform simple scheduling and rescheduling tasks. Recently this feature was also improved to support background images, making your daily planning work more pleasant than ever before.
Don’t forget that you can resize the task bar width to better suit your needs.
#4: Keyboard Shortcuts for List Writing
Many of us deal with lots of lists everyday. So here are some keyboard shortcuts to speed up your workflow:
- Use the UP/DOWN arrow keys to select the desired list item
- Use Shift+ UP/DOWN to multi-select list items
- Use CMD (or CTRL) + ]/[ to increase or decrease the indentation level of the selected list item(s)
- Use SPACEBAR to check/uncheck the selected list item(s)
- Use the DELETE key to delete the selected list item(s)
- While selecting a list item, CMD (or CTRL) + ENTER to create a new item below the selected list item
- While editing a list item, hit ESC or CMD/CTRL + ENTER to get out of the edit mode (and save the changes, if any)
You can also hover your mouse cursor on a list item, then click on the “+” button to insert a subtask, or a file, to the list item.
#5: Create Templates for Repeating Content
Do you have a fixed content structure for a new project, or a new client? If so, create a sample project (or contact), configure all its content (don’t forget files and tasks with dates!), then make it a template. Then you can easily clone a new project (or client) using your custom-made template with just a few click. We have a dedicated video tutorial on how to do this:
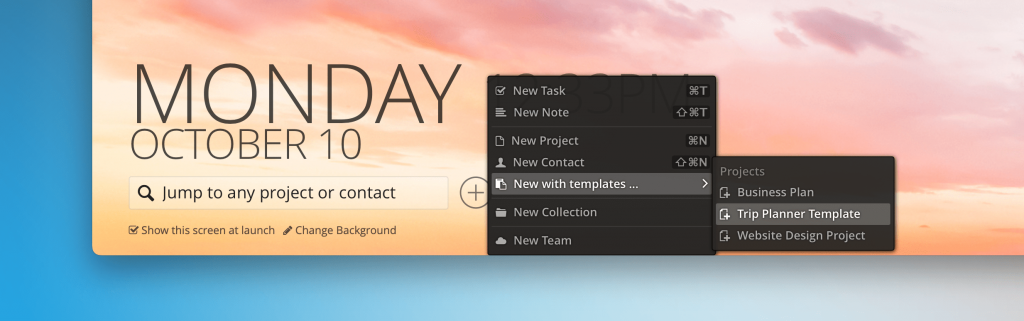
In case you’ve been wondering – the template quick actions are no longer on the dashboard. We migrated the template choices in the Create New menu, so they are more accessible than before:
That’s it for now! Do you have productivity tips you’d like to share with us? Or have questions? Drop us a note on twitter, facebook, or email us. We are always listening. Thank you very much!