Are you new to Pagico? Would you like to learn the best ways to use it and maximize your productivity? Then this guide is for you! As the part 2 of the series, we’ll focus on advanced topics, including project management, best practices to use tags, collections, and syncing data with mobile devices. The part 1 can be found here.
Managing Simple Projects
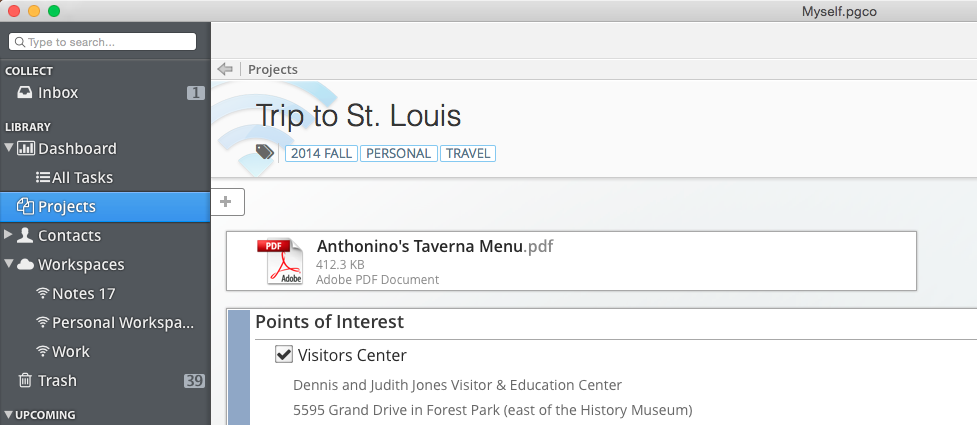
One of the core functionality of Pagico is to manage projects. To clarify, anything that involves more than a single task, note or file can be considered a project. Creating projects is easy — just click on the “+” button at the lower left corner and choose “New Project” (or keyboard shortcut Command + N). Projects can contain anything, ranging from notes, tasks, checklists, to files. The idea is simple: store everything related to a project together in one place.
Organizing Your Projects using Tags
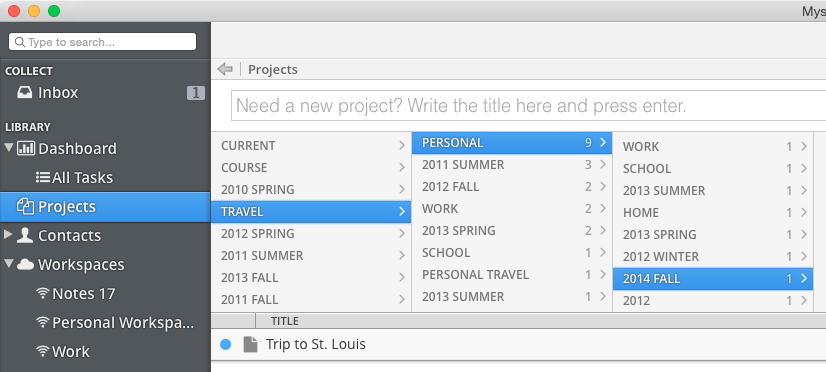
Soon, you will end up with lots of projects, and Pagico is equipped with a very powerful tag browser to help you with organization. To make things easier to find and browse in the long run, you need to properly tag your projects from the beginning. Tags are case-insensitive keywords that describe your projects. Our recommendation is to choose common keywords and reuse them across projects as much as possible. For instance, one of our personal travels, Trip to St. Louis, is tagged as travel, personal, 2014. Another travel project, Trip to Chicago, is tagged as travel, business, 2014. With these tags in place, I can easily browse all my travels, by nature (business or personal) and/or by year. It makes browsing projects incredibly easy.
See also: Using tags in tasks, notes and Smart Collections as contexts
Managing Complex Projects
In most cases, you can put everything relevant into a project. But some times projects are larger in scale or complexity, so it might make sense to group a few projects together. You might notice that Pagico doesn’t manage sub-projects (yet), but that’s OK. Check out the Collections feature, which allows you to group multiple projects (and even contact profiles) together. Simply create a new static collection (click on “+” at the lower left corner, and choose “New Collection”), give it a name, and add projects to it. Static Collections are more than just “folders” for projects. They also come with their own flowchart view, making them perfect for grouping small projects.
Syncing Data with Mobile Devices
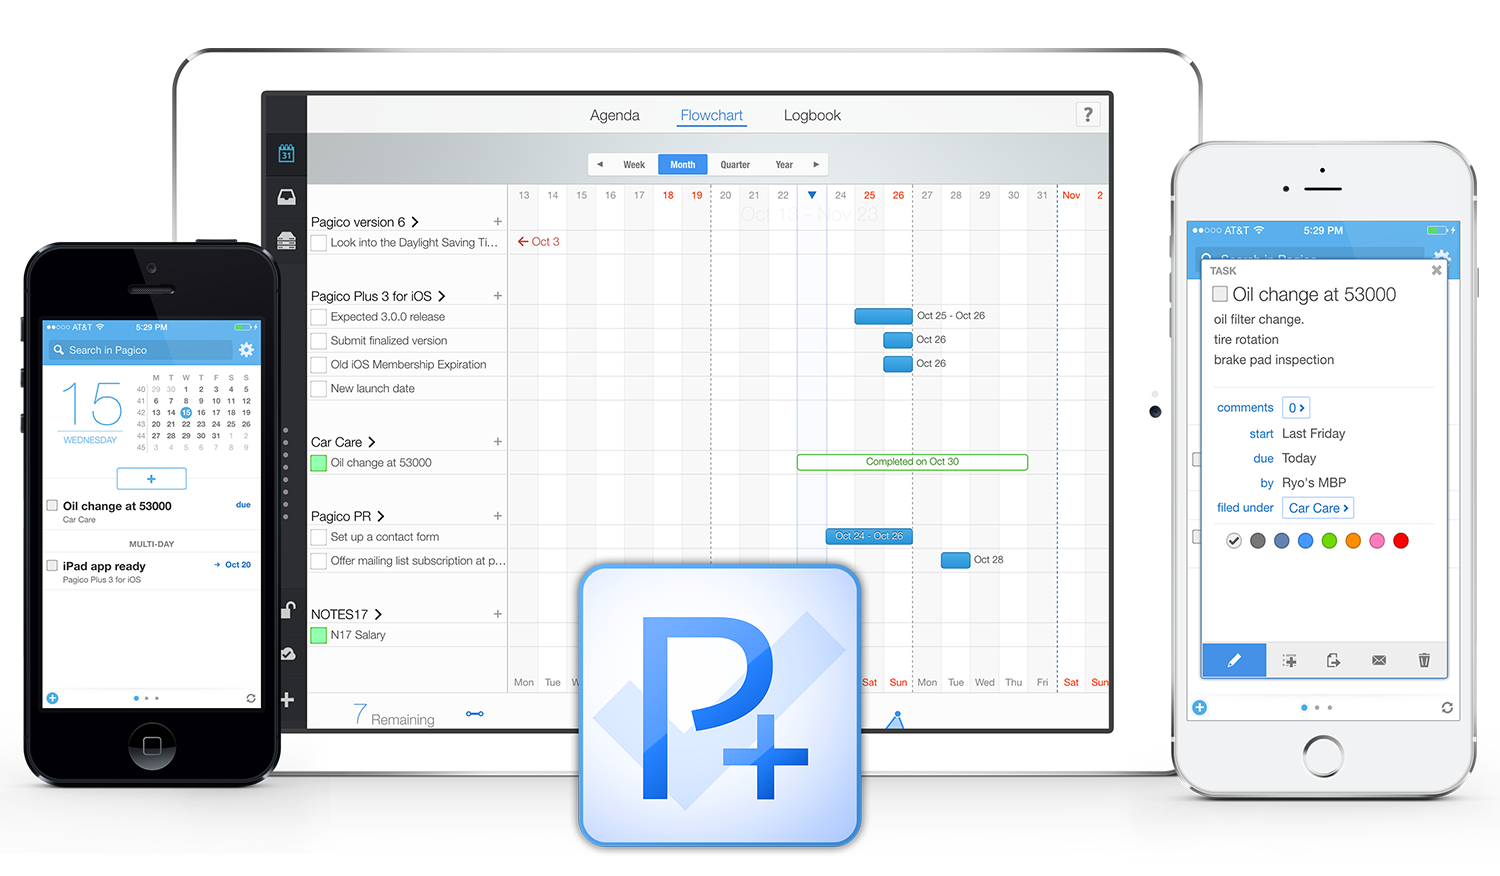
If you use iOS or Android devices, then you can sync your Pagico data to them via the cloud and have read & write access whenever you want, wherever you are. The process is very simple:
- Get Pagico Plus on your devices (iOS AppStore / Google Play).
- Create a Pagico ID account (if you don’t have one yet) in Pagico Plus, then sign in.
- In Pagico for Desktop, switch to the Preferences and sign in with the same Pagico ID account.
- Your Inbox data will be automatically synced. For projects and contacts, you can selectively sync them by using the complimentary Personal Workspace.
Some notes — you’ll get a complimentary Personal Workspace with your purchase of the Pagico Plus mobile app. The Personal Workspace is a cloud sync service for your projects & contacts. It allows you to select which projects & contacts get synced via the cloud (selective sync). You can also create new projects & contacts in Pagico Plus. These items will be added to your workspace automatically, so you can access them in Pagico on your computer as well.